The Ultimate Kitchen Remodel Checklist: From Planning to Final Walkthrough
A kitchen remodel involves hundreds of decisions, dozens of deadlines, and multiple trades working in sequence. Without a checklist, something always slips — a forgotten outlet, an unmeasured appliance, a permit filed too late. This ultimate kitchen remodel checklist is built for Tacoma homeowners and follows your project from the first idea to the final walkthrough.
Print it, bookmark it, or share it with your contractor. Checking off each phase keeps your project on budget, on schedule, and free of the “I wish we’d thought of that” regrets.
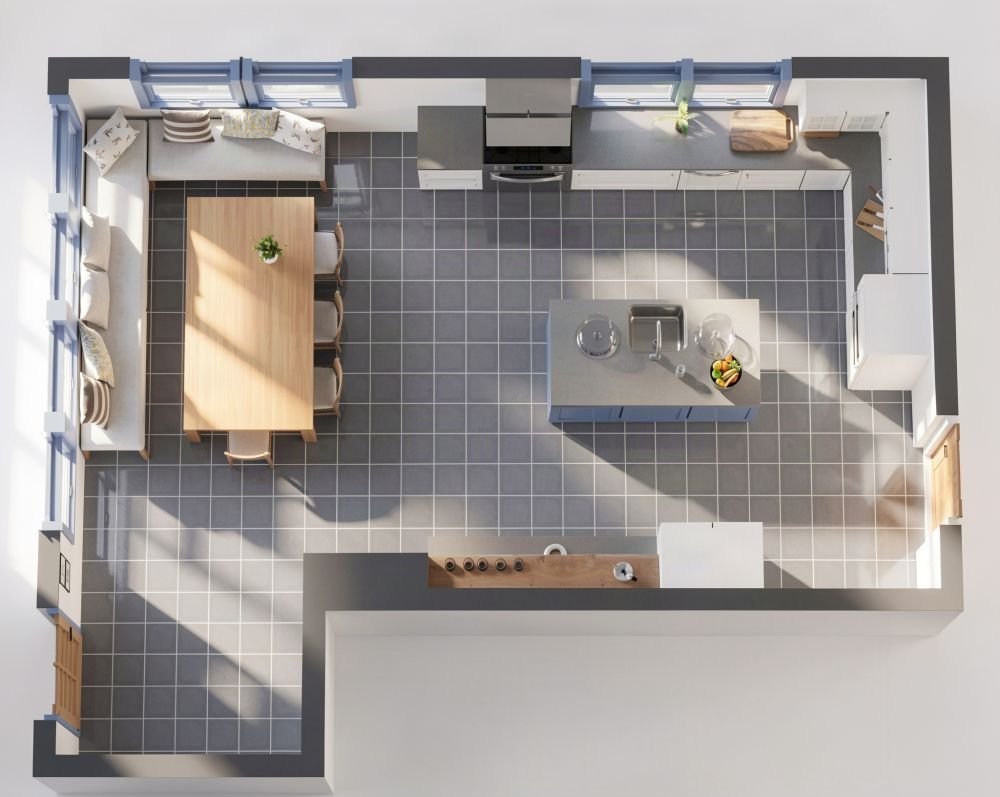
Phase 1: Define Your Goals and Budget
Before you browse a single cabinet catalog, get clear on what you want and what you can spend.
- [ ] List what is not working. Write down every frustration with your current kitchen: not enough counter space, dark corners, awkward layout, outdated appliances. This becomes your design brief.
- [ ] Define your must-haves vs. nice-to-haves. An island might be essential; a pot filler might be a luxury. Ranking priorities now prevents painful cuts later.
- [ ] Set a realistic budget. Research what kitchen remodels cost in Tacoma for your project size, then add a 15 to 20 percent contingency for surprises — especially in older homes. Our guide to hidden kitchen remodel costs explains why that buffer is essential.
- [ ] Decide how you will fund it. Savings, home equity loan, or HELOC — know your financing before you sign a contract.
- [ ] Consider resale. If you might sell within five years, favor broadly appealing choices over highly personal ones. Timeless finishes protect your investment.
Phase 2: Research and Inspiration
- [ ] Collect inspiration. Save photos of kitchens you love — note what specifically appeals to you: the cabinet color, the island shape, the lighting.
- [ ] Study Tacoma-appropriate styles. Craftsman and bungalow homes in North Tacoma and Proctor suit warm woods and classic details; newer builds in University Place can carry sleeker contemporary looks.
- [ ] Visit showrooms. Seeing cabinet finishes and countertop slabs in person — under real lighting — beats scrolling photos. Bring your measurements.
- [ ] Understand the cost drivers. Cabinets, countertops, and labor are the big three. Knowing where the money goes helps you allocate wisely.
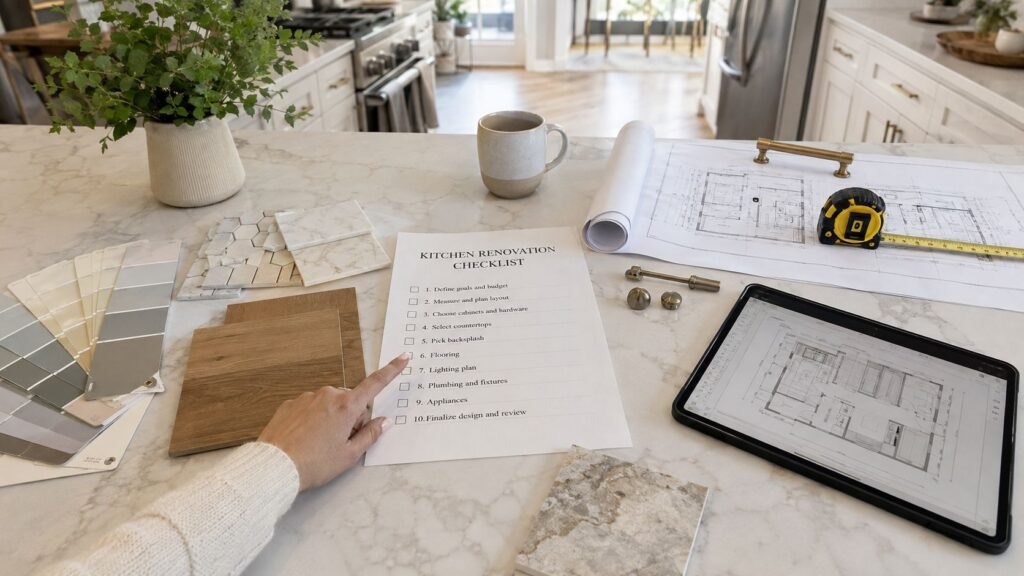
Phase 3: Design and Selections
This is the phase that determines whether your project runs smoothly or drowns in change orders. Finalize everything here.
- [ ] Finalize the layout. Confirm cabinet placement, island size and location, appliance positions, and traffic flow. Get it in drawing form and review it carefully — moving a wall on paper is free; moving it during construction is not.
- [ ] Choose cabinets. Style, color, and construction type (stock, semi-custom, custom). Confirm lead times — 4 to 8 weeks is typical.
- [ ] Choose countertops. Material, color, edge profile. Remember stone needs templating after cabinets are installed, adding weeks to the schedule.
- [ ] Choose flooring. Material and layout pattern. Order 10 percent extra for cuts and waste.
- [ ] Choose the backsplash. Tile, pattern, and grout color.
- [ ] Select the sink and faucet. Style, size, and finish — confirm compatibility with your countertop choice.
- [ ] Select lighting. Ceiling fixtures, pendants, under-cabinet lighting, and switch/dimmer locations. Tacoma’s gray winters make layered lighting a must.
- [ ] Choose appliances. Confirm exact dimensions and delivery dates. Verify every appliance against the cabinet plans — a half-inch mismatch is a expensive problem.
- [ ] Pick hardware, paint colors, and outlet covers. The small finishes that make the project feel complete.
- [ ] Review the full selection list with your contractor. Every item should be specified, priced, and ordered (or scheduled for order) before demolition.
Phase 4: Hire Your Contractor
- [ ] Get at least three detailed quotes. Compare line items, not just totals.
- [ ] Verify license, bond, and insurance through Washington State Labor & Industries.
- [ ] Call references from recent Tacoma-area kitchen projects.
- [ ] Ask the 15 essential questions. Use our contractor interview guide at every meeting.
- [ ] Sign a detailed written contract. Scope, line-item pricing, payment schedule tied to milestones, start and completion dates, change-order process, warranty terms, and cleanup responsibilities — all in writing.
Phase 5: Permits and Pre-Construction
- [ ] Confirm which permits your project needs. Plumbing, electrical, and structural changes each have requirements. Our Tacoma permit guide breaks it down.
- [ ] Ensure your contractor submits permit applications. Confirm submission dates and expected approval timelines.
- [ ] Lock in material orders. Cabinets, countertops, flooring, fixtures, appliances — everything with a lead time should be ordered now.
- [ ] Set up a temporary kitchen. Microwave, toaster oven, electric skillet, mini-fridge, and disposable dishes in the garage or laundry room.
- [ ] Plan for dust and disruption. Seal off the work zone, protect floors in traffic paths, and arrange pet and kid logistics.
- [ ] Notify neighbors. A quick heads-up about construction noise and dumpster placement goes a long way, especially on tight Tacoma streets.
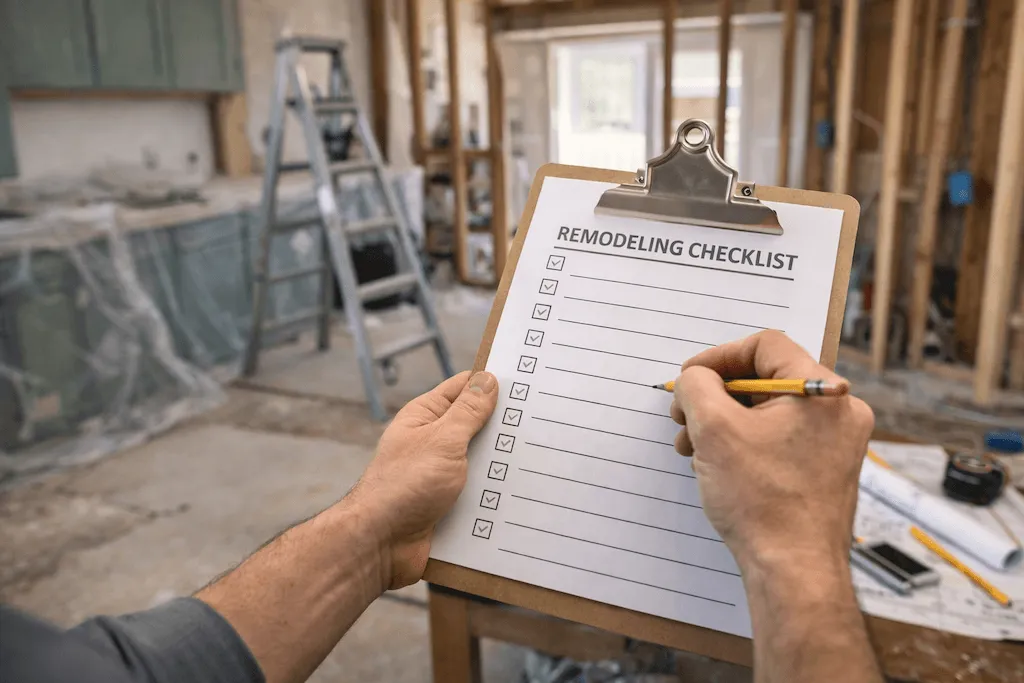
Phase 6: Construction
Your job during construction is to stay informed without micromanaging. Here is what to track:
- [ ] Demolition complete. Confirm hidden conditions were documented — photos of any damage found behind walls.
- [ ] Rough-in inspections passed. Plumbing, electrical, and framing inspected before walls close. Do not let drywall go up early.
- [ ] Drywall, flooring, and paint done. Walk the space and note imperfections while they are easy to fix.
- [ ] Cabinets installed and level. Check door alignment and drawer operation before countertops are templated.
- [ ] Countertops templated and installed. Confirm the template appointment happened after cabinet installation.
- [ ] Backsplash, fixtures, and finish work complete. Test every outlet, switch, faucet, and appliance.
- [ ] Change orders documented. Every deviation from the contract should have a written price you approved in advance.
Follow along with our week-by-week Tacoma timeline to know what should be happening when — and to spot delays early.
Phase 7: Final Walkthrough and Closeout
The finish line deserves as much attention as the starting line.
- [ ] Conduct a detailed walkthrough with your contractor. Bring your original contract and selection list. Test everything: doors, drawers, faucets, lights, appliances, outlets.
- [ ] Create a written punch list of every imperfection, however small. Get a completion date for each item.
- [ ] Verify permits are closed. Confirm all inspections passed and the city signed off.
- [ ] Collect warranty documentation for labor and all major materials and appliances.
- [ ] Get lien releases from your contractor and major subcontractors, confirming everyone has been paid.
- [ ] Make the final payment only after the punch list is complete and paperwork is in hand.
- [ ] Leave an honest review. Good contractors earn their reputation one review at a time — and honest feedback helps your Tacoma neighbors too.
Kitchen Remodel Checklist: Timing Your Project
If you have flexibility on when to start, timing affects cost, contractor availability, and even permit speed. Spring and fall are Tacoma’s sweet spots — good weather, reasonable contractor availability. Read our guide to the best time of year to remodel a kitchen in Tacoma to pick your ideal window.

Related Reading
- Kitchen Remodel Permits in Tacoma: The Complete 2026 Guide
- 15 Questions to Ask Your Kitchen Contractor Before You Hire
- How Long Does a Kitchen Remodel Take? A Week-by-Week Tacoma Timeline
- Best Time of Year to Remodel a Kitchen in Tacoma
Key Takeaways
- Finalize every design selection before construction starts — this single habit prevents most budget overruns and delays.
- Verify your contractor’s license, get everything in writing, and tie payments to completed milestones.
- Confirm permits are submitted early and inspections pass at each stage before work continues.
- Never make the final payment until the punch list is done and you hold warranties and lien releases.
Feeling ready to start checking boxes? Request a free estimate from Kitchen Remodeler Tacoma — we will walk through this entire checklist with you, give you an honest line-item quote, and manage every phase from planning to final walkthrough.

2 Responses